Taking Screenshots 📷

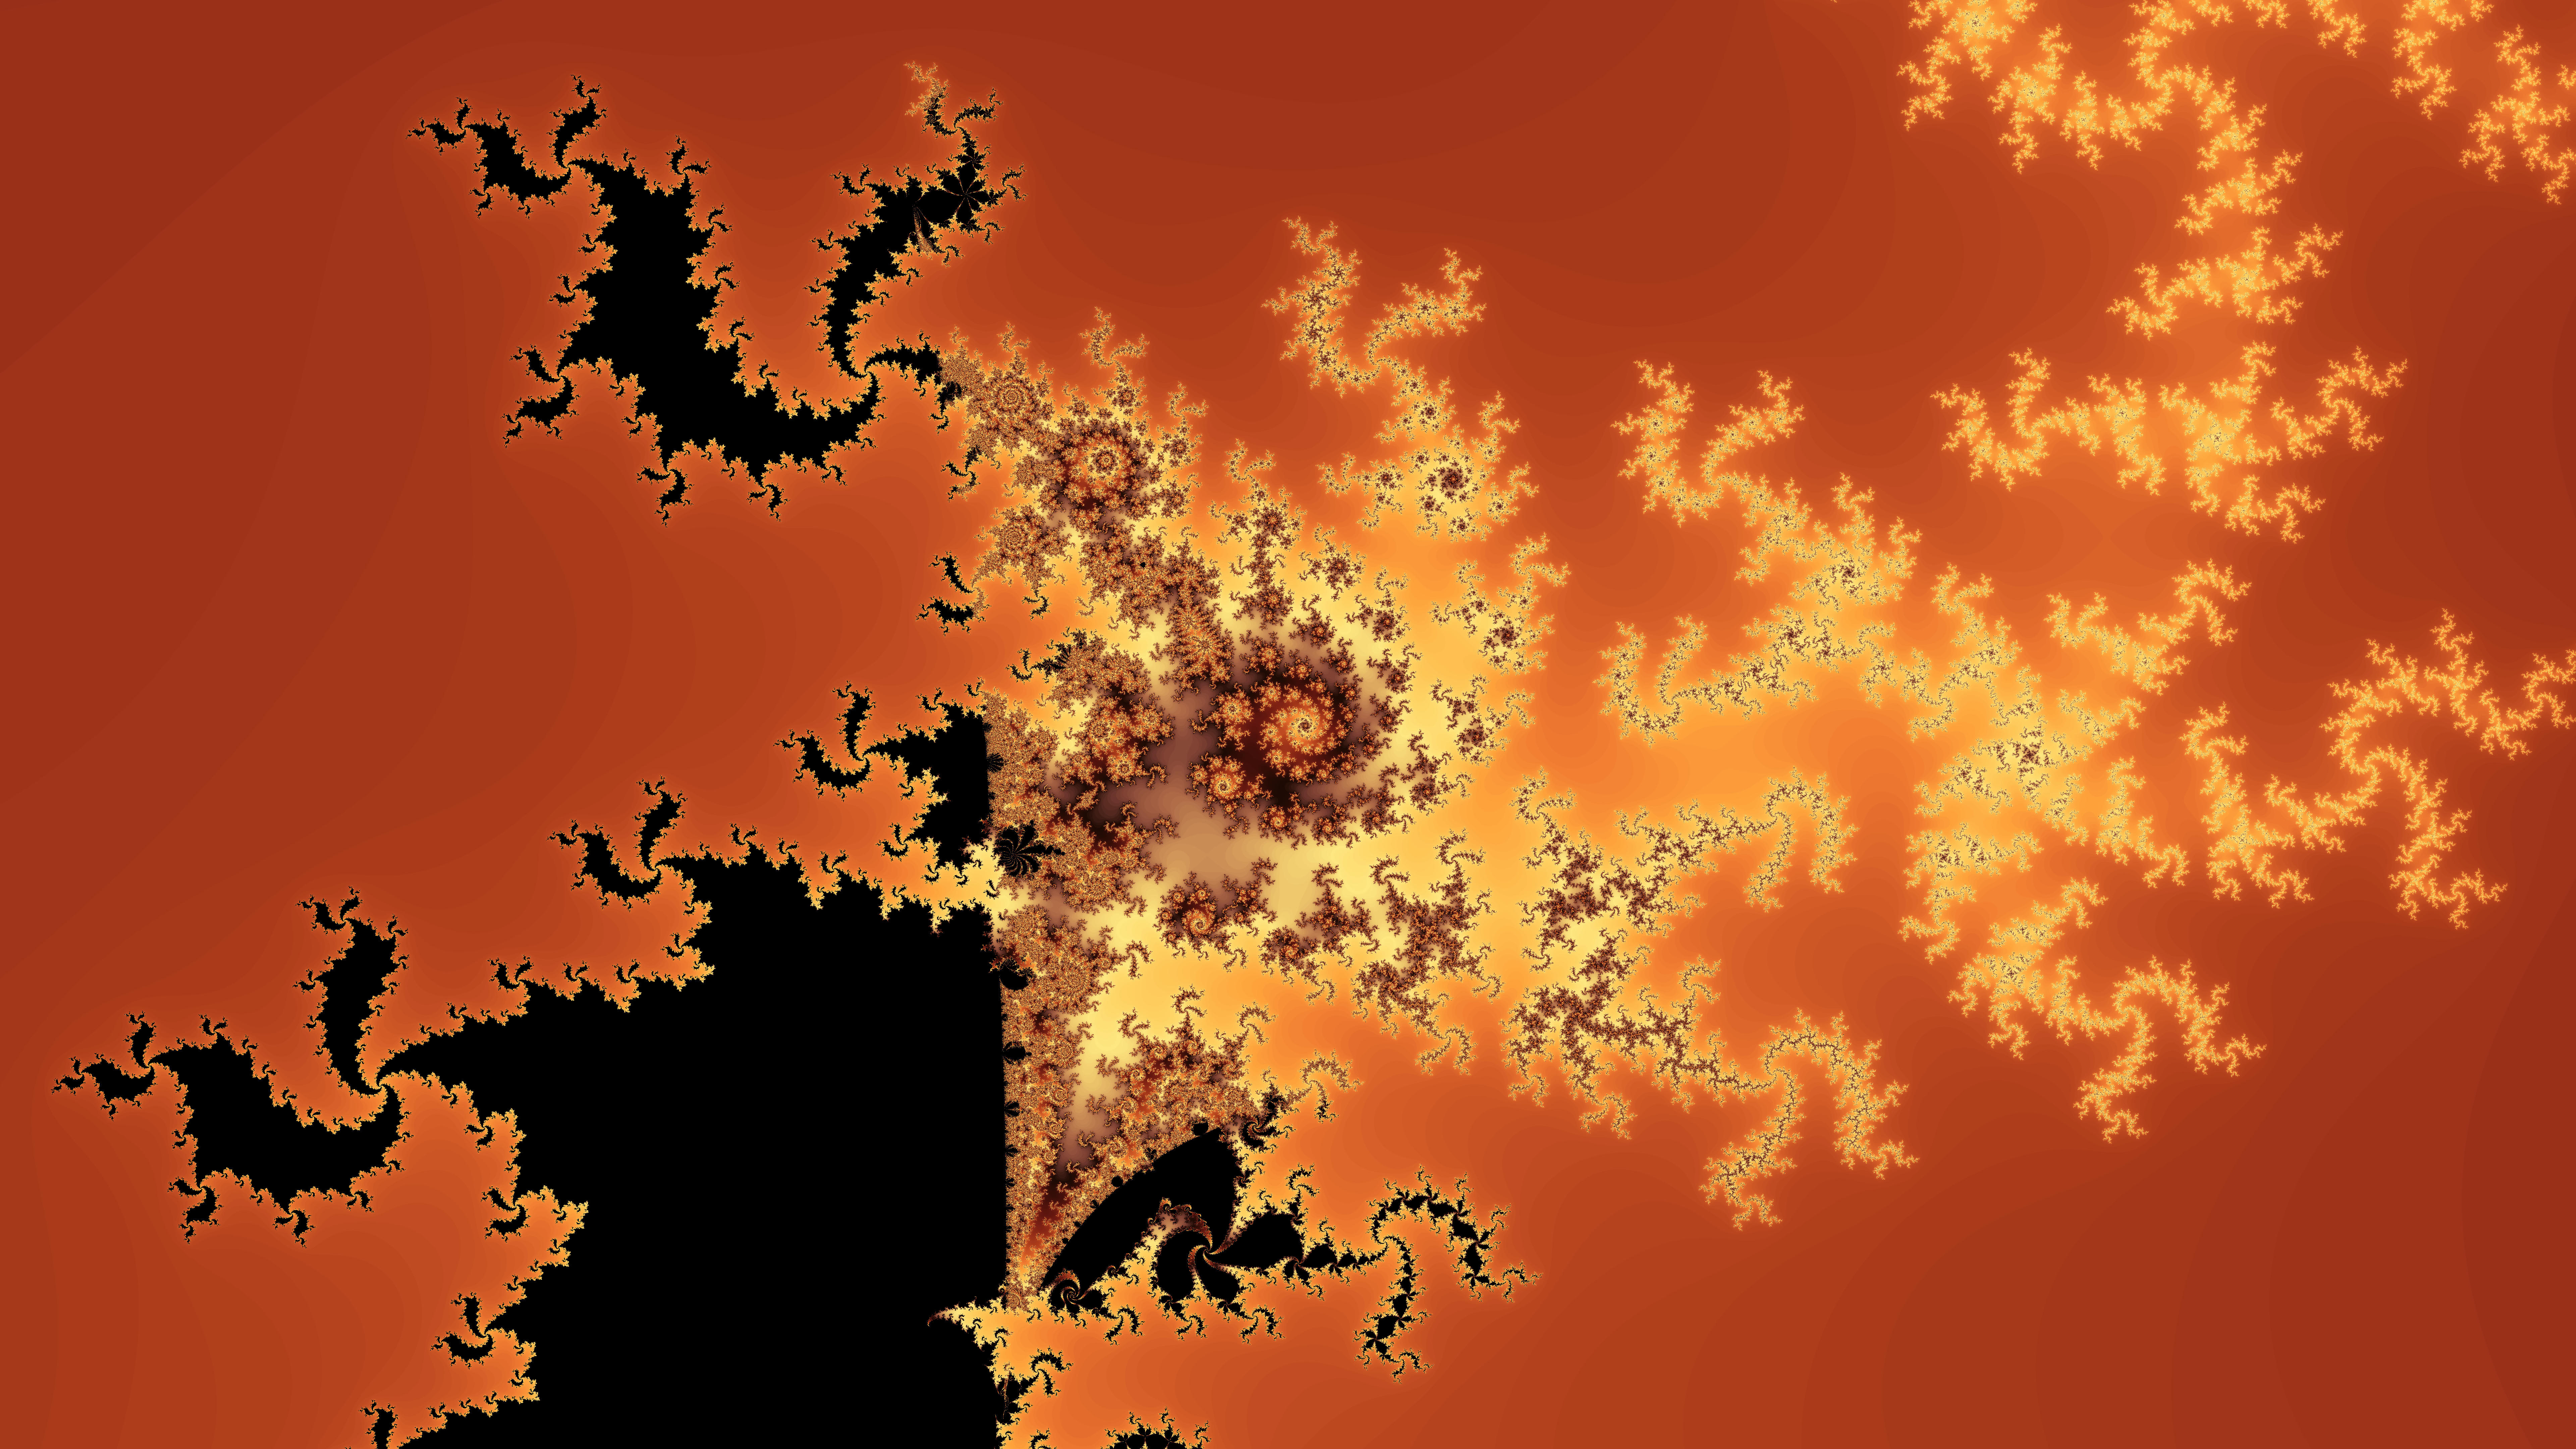
One of the main goals of this application, is creating high quality screenshots such as the one above. All the images in the screenshots gallery 🌟 were generated using the following commands, which will be explained in this section:
capture(cp)capture_fit(cpf)capture_hq(chq)capture_format(cf)
The commands in parenthesis are aliases.
GPU Mode ⚡
Screenshots can take A LOT of time to complete. GPU Mode can lower the computation duration from 20 hours to 20 seconds. Consequently it is greatly recommended to make sure GPU Mode is enabled before starting a screenshot. To learn more about GPU Mode, you may read the GPU Mode section.
Optional arguments
If the name of an argument is preceded by a question mark, this means the arguemnt is optional. For example in [?name], the name argument can be specified or ignored.
capture (cp)
This command is used to create a screenshot of the canvas. This is how it can be used:
[?name]: in this case, the default dimensions of 1920 by 1080 pixels will be used. You can specify a filename, without the extension since it will be used both for the screenshot and the state file.[width] [height] [?name]: the specified height and width will be used.
If the screenshot aspect ratio is not the same as the canvas, the height will be preserved.
capture_fit (cpf)
This command will take a screenshot of your canvas while maintaining the same aspect ratio. This is how it can be used:
[?name]: this will take a screenshot with a default width of 1920 pixels. The height will be adjusted to that the aspect ration is preserved.height/width [size] [?name]: this will take a screenshot with the specified height/width. The other dimention will be automatically adjusted.
For example, cf width 1000 my_screenshot will take a screenshot with a width of 1000px and preserve the aspect ration of the canvas. The state file and the screenshot will be saved respectively as my_screenshot.rsf and my_screenshot.jpg
capture_hq (chq)
This command takes a very high quality screenshot (7680x4320). It is just an alias for capture 7680 4320. You can optionnaly provide a file name as unique argument.
capture_format (cf)
This command is used to change the image format used to save screenshots to the filesystem. This is how it can be used:
without arguments: this will display the available file formats.[file extension]: this will select the specified file format.
For example, cf png will select the PNG format to save screenshots.